Introducing the Upsun MCP server: bring Upsun into your LLMs


Today marks a significant milestone in our evolution from Platform.sh to Upsun. We’re launching the Upsun MCP Server, a new integration that transforms how you interact with your favorite cloud application platform through AI assistants.
upsun-mcp-server GitHub repository.Infrastructure management where you already work
The Upsun MCP server eliminates context switching entirely. Through integration with AI assistants like Claude, you manage your entire Upsun infrastructure using natural language, right where you’re already working.
You: "Create a preview environment for my feature branch with PostgreSQL"
Claude: "I'll create that preview environment for you now..."
[Environment created with full production data clone in 2 minutes]
No terminal. No console. No documentation hunting. Your AI assistant becomes your infrastructure expert.
Why MCP changes everything for infrastructure
Natural Language Infrastructure-as-Code
Traditional infrastructure management requires memorizing commands and syntax. With MCP, you describe what you want:
- “Show me all active environments in my e-commerce project”
- “Create a backup before I deploy this breaking change”
- “Add Redis caching to my staging environment”
Your AI assistant translates intent into action, handling the complexity behind the scenes.
Seamless CI/CD integration
MCP servers aren’t isolated tools, they integrate directly into your existing workflows. Trigger deployments from your IDE. Monitor builds from your documentation. Manage resources from anywhere you interact with AI.
This integration extends to your CI/CD pipelines.
Automation that thinks
Traditional automation follows rigid rules. AI-powered automation adapts. Need to scale resources based on complex patterns? Your AI assistant analyzes metrics, understands context, and makes intelligent decisions.
Example scenarios MCP enables:
- Intelligent resource allocation based on usage patterns
- Automated troubleshooting with root cause analysis
- Smart backup strategies that adapt to your workflow
- Predictive scaling before traffic spikes
What you can do today
Every operation respects Upsun’s security model. The beta defaults to read-only operations for safety, with write operations available through explicit configuration.
To enable write operations, add the "enable-write": "true" header to your MCP configuration. Only enable this if you understand the implications and trust your AI assistant with infrastructure modifications.
The Upsun MCP Server exposes our API through task oriented tools like the CLI does:
Project & Environment Management
- Create and configure projects
- Manage environments and deployments
- Handle branching and merging strategies
- Monitor activities and logs
Infrastructure Operations
- Configure services and databases
- Manage domains and SSL certificates
- Create and restore backups
- Set up routing and caching
Security & Access
- Manage SSH keys
- Configure access controls
- Handle certificates
Part of our broader AI vision
The MCP server launch represents our broader commitment to AI-enhanced development. This is the first of many AI innovations coming to Upsun.
We’re not adding AI as a gimmick. We’re solving real problems that cost you time and money. Every AI feature we ship must pass one test: Does it make developers’ lives genuinely better?
Upsun MCP Architecture
In order to ensure the best level of service and maintenance, Upsun has deployed its MCP with Streamable HTTP transport.
It uses HTTP POST for client-to-server messages with optional Server-Sent Events for streaming capabilities. This transport enables remote server communication and supports standard HTTP authentication methods including bearer tokens, API keys, and custom headers.
graph TB
    AI["AI Assistant
(MCP Client)"]
    MCP["Upsun MCP Server
mcp.upsun.com/mcp"]
    API["Upsun API"]

    PROJECT1["Upsun Project 1"]
    PROJECT2["Upsun Project 2"]
    PROJECT3["Upsun Project 3"]

    %% Connections
    AI -->|API Token| MCP
    MCP --> API
    API -->|Action| PROJECT1
    API -->|Action| PROJECT2
    API -->|Action| PROJECT3

    %% Styling
    classDef client fill:#D0F302,stroke:#000,stroke-width:2px,color:#000
    classDef server fill:#6046FF,stroke:#000,stroke-width:2px,color:#fff
    classDef api fill:#000,stroke:#D0F302,stroke-width:2px,color:#D0F302
    classDef projects fill:#D0F302,stroke:#000,stroke-width:2px,color:#000

    class AI client
    class MCP server
    class API api
    class PROJECT1,PROJECT2,PROJECT3 projects
Installation instructions
Set up the Upsun MCP Server in under a minute:
- Get your API token from the Upsun Console. Navigate to your account settings and generate a new API token with appropriate permissions for your projects.
- Configure your MCP client to connect to https://mcp.upsun.com/mcp
- Start managing infrastructure through natural language
The Upsun MCP server works with all major AI development environments. Choose your preferred client below:
Install in Cursor
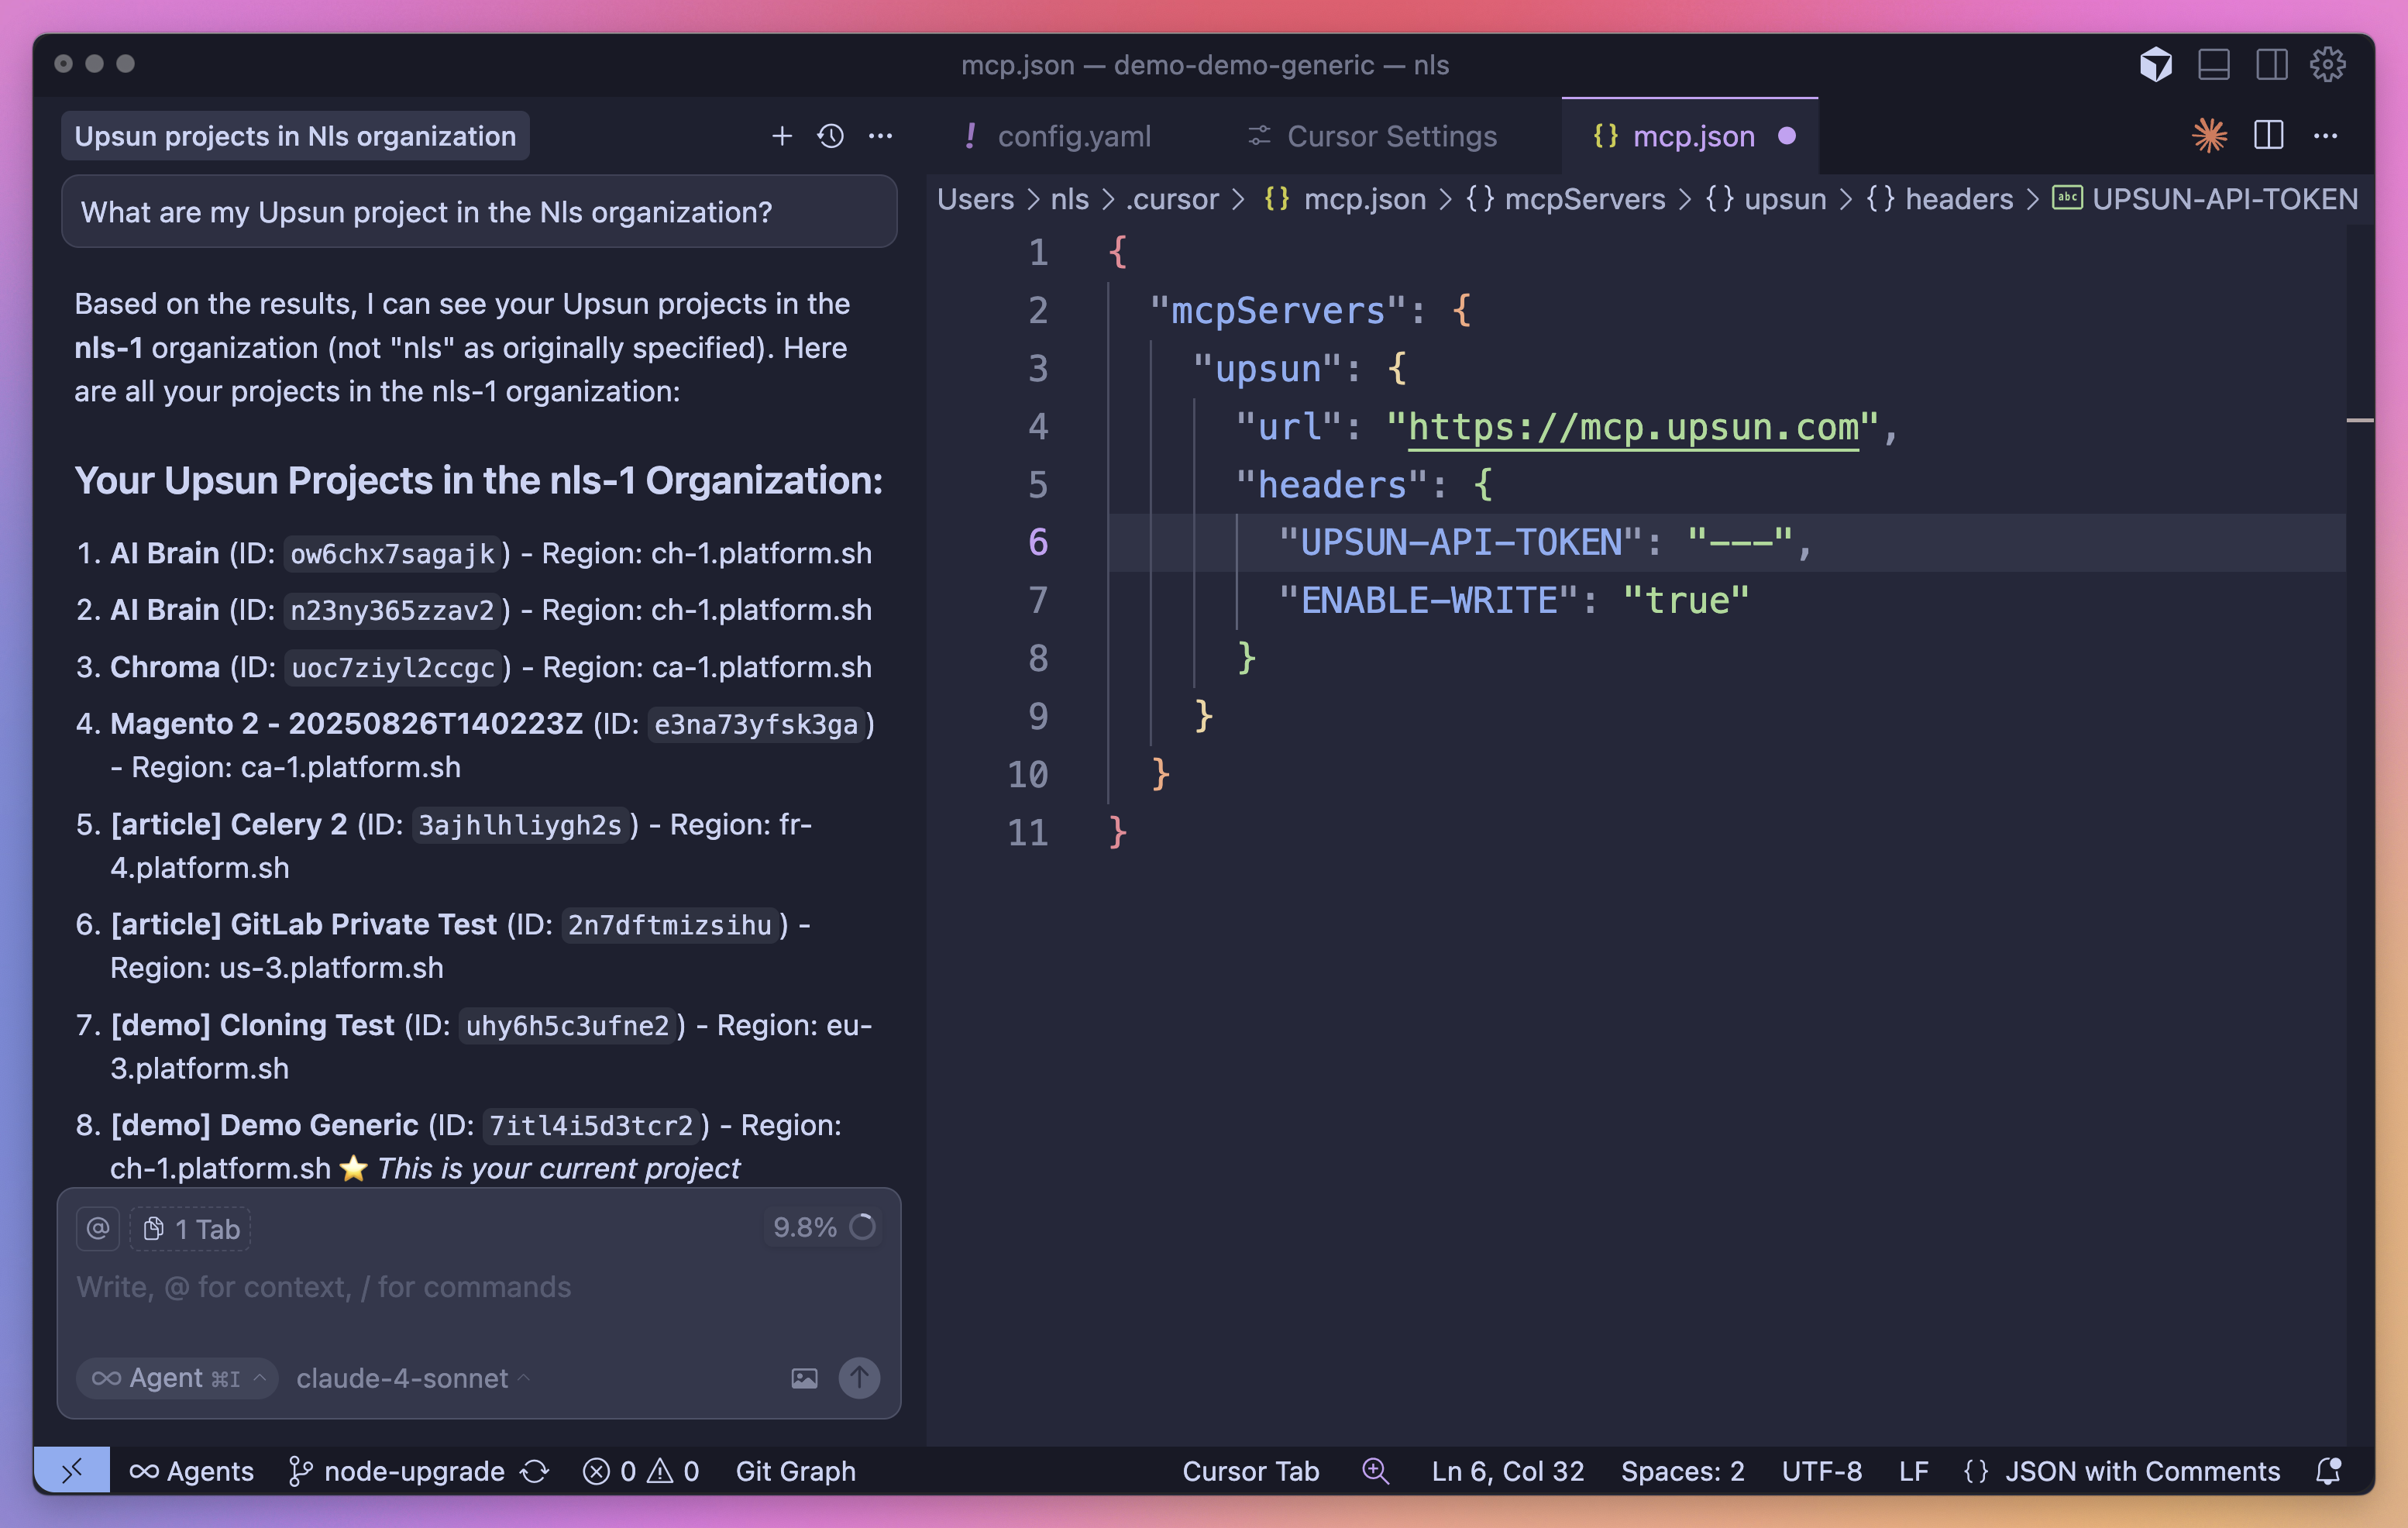
Go to: Settings -> Cursor Settings -> MCP -> Add new global MCP server
Pasting the following configuration into your Cursor ~/.cursor/mcp.json file is the recommended approach. You may also install in a specific project by creating .cursor/mcp.json in your project folder. See Cursor MCP docs for more info.
Cursor Remote Server Connection
{
  "mcpServers": {
    "upsun": {
      "url": "https://mcp.upsun.com/mcp",
      "headers": {
        "upsun-api-token": "YOUR_API_TOKEN",
        "enable-write": "false"
      }
    }
  }
}
Install in Claude Code
Run this command. See Claude Code MCP docs for more info.
Claude Code Remote Server Connection
claude mcp add --transport http upsun https://mcp.upsun.com/mcp --header "upsun-api-token: YOUR_API_TOKEN" --header "enable-write: false"Install in Windsurf
Add this to your Windsurf MCP config file. See Windsurf MCP docs for more info.
Windsurf Remote Server Connection
{
  "mcpServers": {
    "upsun": {
      "serverUrl": "https://mcp.upsun.com/mcp",
      "headers": {
        "upsun-api-token": "YOUR_API_TOKEN",
        "enable-write": "false"
      }
    }
  }
}
Install in VS Code
Add this to your VS Code MCP config file. See VS Code MCP docs for more info.
VS Code Remote Server Connection
"mcp": {
  "servers": {
    "upsun": {
      "type": "http",
      "url": "https://mcp.upsun.com/mcp",
      "headers": {
        "upsun-api-token": "YOUR_API_TOKEN",
        "enable-write": "false"
      }
    }
  }
}
Install in Cline
You can easily configure the Upsun MCP server through Cline:
- Open Cline.
- Click the hamburger menu icon (☰) to enter the MCP Servers section.
- Choose Remote Servers tab.
- Click the Edit Configuration button.
- Add upsun to
mcpServers:
{
  "mcpServers": {
    "upsun": {
      "url": "https://mcp.upsun.com/mcp",
      "type": "streamableHttp",
      "headers": {
        "upsun-api-token": "YOUR_API_TOKEN",
        "enable-write": "false"
      }
    }
  }
}
Install in Zed
Add this to your Zed settings.json. See Zed Context Server docs for more info.
{
  "context_servers": {
    "Upsun": {
      "settings": {
        "url": "https://mcp.upsun.com/mcp",
        "headers": {
          "upsun-api-token": "YOUR_API_TOKEN",
        "enable-write": "false"
        }
      }
    }
  }
}
Install in Augment Code
To configure the Upsun MCP server in Augment Code:
Manual Configuration
- Press Cmd/Ctrl Shift P or go to the hamburger menu in the Augment panel
- Select Edit Settings
- Under Advanced, click Edit in settings.json
- Add the server configuration to the
mcpServersarray in theaugment.advancedobject
"augment.advanced": {
  "mcpServers": [
    {
      "name": "upsun",
      "url": "https://mcp.upsun.com/mcp",
      "headers": {
        "upsun-api-token": "YOUR_API_TOKEN",
        "enable-write": "false"
      }
    }
  ]
}
Once the MCP server is added, restart your editor. If you receive any errors, check the syntax to make sure closing brackets or commas are not missing.
Install in Roo Code
Add this to your Roo Code MCP configuration file. See Roo Code MCP docs for more info.
Roo Code Remote Server Connection
{
  "mcpServers": {
    "upsun": {
      "type": "streamable-http",
      "url": "https://mcp.upsun.com/mcp",
      "headers": {
        "upsun-api-token": "YOUR_API_TOKEN",
        "enable-write": "false"
      }
    }
  }
}
Install in Gemini CLI
See Gemini CLI Configuration for details.
- Open the Gemini CLI settings file. The location is
~/.gemini/settings.json(where~is your home directory). - Add the following to the
mcpServersobject in yoursettings.jsonfile:
{
  "mcpServers": {
    "upsun": {
      "httpUrl": "https://mcp.upsun.com/mcp",
      "headers": {
        "upsun-api-token": "YOUR_API_TOKEN",
        "enable-write": "false",
        "Accept": "application/json, text/event-stream"
      }
    }
  }
}
If the mcpServers object does not exist, create it.
Install in Claude Desktop
Remote Server Connection
Open Claude Desktop and navigate to Settings > Connectors > Add Custom Connector. Enter the name as Upsun and the remote MCP server URL as https://mcp.upsun.com/mcp.
Add your API token in the headers configuration:
{
  "upsun-api-token": "YOUR_API_TOKEN",
    "enable-write": "false"
}
Install in Opencode
Add this to your Opencode configuration file. See Opencode MCP docs for more info.
Opencode Remote Server Connection
"mcp": {
  "upsun": {
    "type": "remote",
    "url": "https://mcp.upsun.com/mcp",
    "headers": {
      "upsun-api-token": "YOUR_API_TOKEN",
    "enable-write": "false"
    },
    "enabled": true
  }
}
Install in JetBrains AI Assistant
See JetBrains AI Assistant Documentation for more details.
- In JetBrains IDEs, go to
Settings->Tools->AI Assistant->Model Context Protocol (MCP) - Click
+ Add. - Click on
Commandin the top-left corner of the dialog and select the As JSON option from the list - Add this configuration and click
OK
{
  "mcpServers": {
    "upsun": {
      "url": "https://mcp.upsun.com/mcp",
      "headers": {
        "upsun-api-token": "YOUR_API_TOKEN",
        "enable-write": "false"
      }
    }
  }
}- Click
Applyto save changes. - The same way upsun could be added for JetBrains Junie in
Settings->Tools->Junie->MCP Settings
Install in Kiro
See Kiro Model Context Protocol Documentation for details.
- Navigate
Kiro>MCP Servers - Add a new MCP server by clicking the
+ Addbutton. - Paste the configuration given below:
{
  "mcpServers": {
    "Upsun": {
      "url": "https://mcp.upsun.com/mcp",
      "headers": {
        "upsun-api-token": "YOUR_API_TOKEN",
        "enable-write": "false"
      },
      "disabled": false,
      "autoApprove": []
    }
  }
}- Click
Saveto apply the changes.
Install in Trae
Use the Add manually feature and fill in the JSON configuration information for that MCP server. For more details, visit the Trae documentation.
Trae Remote Server Connection
{
  "mcpServers": {
    "upsun": {
      "url": "https://mcp.upsun.com/mcp",
      "headers": {
        "upsun-api-token": "YOUR_API_TOKEN",
        "enable-write": "false"
      }
    }
  }
}
Install in Amazon Q Developer CLI
Add this to your Amazon Q Developer CLI configuration file. See Amazon Q Developer CLI docs for more details.
{
  "mcpServers": {
    "upsun": {
      "url": "https://mcp.upsun.com/mcp",
      "headers": {
        "upsun-api-token": "YOUR_API_TOKEN",
        "enable-write": "false"
      }
    }
  }
}
Install in Warp
See Warp Model Context Protocol Documentation for details.
- Navigate
Settings>AI>Manage MCP servers. - Add a new MCP server by clicking the
+ Addbutton. - Paste the configuration given below:
{
  "Upsun": {
    "url": "https://mcp.upsun.com/mcp",
    "headers": {
      "upsun-api-token": "YOUR_API_TOKEN",
    "enable-write": "false"
    },
    "start_on_launch": true
  }
}- Click
Saveto apply the changes.
Install in Copilot Coding Agent
Using Upsun MCP with Copilot Coding Agent
Add the following configuration to the mcp section of your Copilot Coding Agent configuration file Repository->Settings->Copilot->Coding agent->MCP configuration:
{
  "mcpServers": {
    "upsun": {
      "type": "http",
      "url": "https://mcp.upsun.com/mcp",
      "headers": {
        "upsun-api-token": "YOUR_API_TOKEN",
        "enable-write": "false"
      }
    }
  }
}
For more information, see the official GitHub documentation.
Install in LM Studio
See LM Studio MCP Support for more information.
Manual set-up:
- Navigate to
Program(right side) >Install>Edit mcp.json. - Paste the configuration given below:
{
  "mcpServers": {
    "Upsun": {
      "url": "https://mcp.upsun.com/mcp",
      "headers": {
        "upsun-api-token": "YOUR_API_TOKEN",
        "enable-write": "false"
      }
    }
  }
}- Click
Saveto apply the changes. - Toggle the MCP server on/off from the right hand side, under
Program, or by clicking the plug icon at the bottom of the chat box.
Install in Visual Studio 2022
You can configure the Upsun MCP server in Visual Studio 2022 by following the Visual Studio MCP Servers documentation.
Add this to your Visual Studio MCP config file (see the Visual Studio docs for details):
{
  "inputs": [],
  "servers": {
    "upsun": {
      "type": "http",
      "url": "https://mcp.upsun.com/mcp",
      "headers": {
        "upsun-api-token": "YOUR_API_TOKEN",
        "enable-write": "false"
      }
    }
  }
}
For more information and troubleshooting, refer to the Visual Studio MCP Servers documentation.
Install in Crush
Add this to your Crush configuration file. See Crush MCP docs for more info.
Crush Remote Server Connection (HTTP)
{
  "$schema": "https://charm.land/crush.json",
  "mcp": {
    "upsun": {
      "type": "http",
      "url": "https://mcp.upsun.com/mcp",
      "headers": {
        "upsun-api-token": "YOUR_API_TOKEN",
        "enable-write": "false"
      }
    }
  }
}
Install in BoltAI
Open the “Settings” page of the app, navigate to “Plugins,” and configure the Upsun MCP server:
{
  "mcpServers": {
    "upsun": {
      "url": "https://mcp.upsun.com/mcp",
      "headers": {
        "upsun-api-token": "YOUR_API_TOKEN",
        "enable-write": "false"
      }
    }
  }
}
More information is available on BoltAI’s Documentation site. For BoltAI on iOS, see this guide.
Install in Rovo Dev CLI
Edit your Rovo Dev CLI MCP config by running the command below -
acli rovodev mcpExample config -
Remote Server Connection
{
  "mcpServers": {
    "upsun": {
      "url": "https://mcp.upsun.com/mcp",
      "headers": {
        "upsun-api-token": "YOUR_API_TOKEN",
        "enable-write": "false"
      }
    }
  }
}
Install in Zencoder
To configure the Upsun MCP server in Zencoder, follow these steps:
- Go to the Zencoder menu (…)
- From the dropdown menu, select Agent tools
- Click on the Add custom MCP
- Add the name and server configuration from below, and make sure to hit the Install button
{
  "url": "https://mcp.upsun.com/mcp",
  "headers": {
    "upsun-api-token": "YOUR_API_TOKEN",
    "enable-write": "false"
  }
}
Once the MCP server is added, you can easily continue using it.
Install in Qodo Gen
See Qodo Gen docs for more details.
- Open Qodo Gen chat panel in VSCode or IntelliJ.
- Click Connect more tools.
- Click + Add new MCP.
- Add the following configuration:
Qodo Gen Remote Server Connection
{
  "mcpServers": {
    "upsun": {
      "url": "https://mcp.upsun.com/mcp",
      "headers": {
        "upsun-api-token": "YOUR_API_TOKEN",
        "enable-write": "false"
      }
    }
  }
}
Install in Perplexity Desktop
See Local and Remote MCPs for Perplexity for more information.
- Navigate
Perplexity>Settings - Select
Connectors. - Click
Add Connector. - Select
Advanced. - Enter Server Name:
Upsun - Paste the following JSON in the text area:
{
  "url": "https://mcp.upsun.com/mcp",
  "headers": {
    "upsun-api-token": "YOUR_API_TOKEN",
    "enable-write": "false"
  }
}- Click
Save.