Decouple your Symfony frontend using Next.js


AI-generated image of a geek slicing a computer screen in half with a chainsaw
In today’s development landscape, decoupling the frontend from the backend is crucial for leveraging the best features of modern frameworks. A backend built with a powerful and fast server-side language like PHP or Java, combined with a frontend using an efficient, high-performance language that enables dynamic rendering — such as Node.js/JavaScript — can create an optimal stack.
But then comes the question of hosting:Should everything be on a single server to cut costs, at the risk of performance bottlenecks? Or should we separate responsibilities, dedicating a server to each language for better scalability?With Upsun, you don’t even have to worry about these trade-offs. Every project hosted with us can include as many applications and services as needed. Thanks to dedicated containers for each application and service, and on-the-fly resource allocation, you remain in full control.
The challenge:Our starting point is a Symfony-based demo application, built using Symfony Demo v7.1. The website currently displays a list of blogposts using Twig templates.
We will introduce a Next.js frontend to replace the current Symfony-based UI. The goal? Display blogposts on a fresh new frontend, using Next.js, and add possibility to read corresponding blogpost.
Backend preparation:We need a Symfony Demo project, hosted on Upsun. If you don’t already have this, please follow this blogpost about how to host a Symfony Demo project on Upsun.
🚀 Let’s dive in!
Assumptions:
- You already have an Upsun account. If you don’t, please register for a trial account. You can sign up with an email address or an existing GitHub, Bitbucket, or Google account. If you choose one of these accounts, you can set a password for your Upsun account later.
- You have a Symfony Demo hosted on an Upsun project. If you don’t, please follow this blogpost first
- You have the Symfony CLI installed locally.
- You have the latest version of PHP and Node.js installed locally.
Prepare your Symfony project
The initial step will be to prepare our source code architecture to welcome a new frontend application and then update our Symfony application by adding 2 new routes, delivering list of blogposts and info from a single blogpost, in a Json format.
Create a preview environment
As we never work on the production environment, we will create a dedicated preview environment.
To create a preview environment, use the following command line.
It will create, on the fly, an exact copy of your parent environment (here, branch main, so it’s your production environment).
symfony upsun:environment:branch decouple-frontendThis will create and switch to a new local Git branch decouple-frontend and deploy the corresponding preview environment in less than a few minutes.
php bin/console app:sanitize-data in the hooks.deploy.Update your project architecture
Each time you update and push your source code to your project, Upsun will detect changes in the defined source.root folder for each application.
If it detects any updates in your application subtree, it will rebuild your application container.
To prepare your project for handling multiple applications, move all existing Symfony source code into a dedicated backend folder.
From the root of your project source code, execute the following command lines:
mkdir -p backend
for file in * .[^.]*; do
  if [[ "$file" != "backend" && "$file" != ".upsun" && "$file" != ".git" ]]; then
    mv -- "$file" backend/
  fi
done
This will move all existing files and folders into a backend/ sub-folder, except itself and the.upsun folder (which needs to remain at the root of your source code).
Then, in your .upsun/config.yaml file, update the source.root parameter of your app application:
| |
Add new PostRepository functions
We will create 2 new PostRepository functions, getAllPosts and getPost that will return an array of results:
getAllPosts: get all postsgetPost: get a single post, in an arrayTo do so, please update your
backend/src/Repository/PostRepository.phpfile and the 2 functions above:
| |
Add new Symfony routes
For our frontend to fetch data from our Symfony, we will need 2 new routes:
<lang>/api/get-all-posts: to get the list of Posts<lang>/api/get-post/{id}: to get info from a single post
To add these 2 new Symfony routes, open your project source code in your favorite IDE, like VSCode or PHPStorm,
and create a new backend/src/Controller/ApiController.php file with the following source code:
<?php

namespace App\Controller;

use App\Repository\PostRepository;
use Symfony\Bundle\FrameworkBundle\Controller\AbstractController;
use Symfony\Component\HttpFoundation\JsonResponse;
use Symfony\Component\Routing\Attribute\Route;

#[Route('/api')]
final class ApiController extends AbstractController
{
    #[Route('/get-all-posts', methods: ['GET'])]
    public function getAllPosts(PostRepository $postRepository): JsonResponse
    {
        return $this->json($postRepository->getAllPosts());
    }

    #[Route('/get-post/{id}', methods: ['GET'])]
    public function getPost(int $id, PostRepository $postRepository): JsonResponse
    {
        return $this->json($postRepository->getPost($id));
    }
}
Your Symfony application is now ready to handle API REST requests from your future Next.js frontend.
Deploy your updates
Push your updates to your Upsun project using the following command lines:
git add .
git commit -m "Move Symfony to backend folder + add API routes"
symfony deploy
Add a new Next.js application
Then, we will add a new Next.js application, and display the list of blogposts, with links to each blogpost pages.
Create a new Next.js application
To create a new Next.js application locally, use this command from the root of your project source code:
npx -y create-next-app@latest frontendOnly the App router is required, so you can respond No to everything else:
✔ Would you like to use TypeScript? … No
✔ Would you like to use ESLint? … No
✔ Would you like to use Tailwind CSS? … No
✔ Would you like your code inside a `src/` directory? … No
✔ Would you like to use App Router? (recommended) … Yes
✔ Would you like to use Turbopack for `next dev`? … No
✔ Would you like to customize the import alias (`@/*` by default)? … No
Configure your frontend application
To add a new application in your Upsun configuration, open your favorite IDE,
like VSCode or PHPStorm,
and copy the .upsun/config.yaml snippet (myapp configuration block) given in the Next.js Getting started guide, with few updates explained below.
Your .upsun/config.yaml file will look like this:
| |
Highlights are for the few minor updates that need to be done to feet our project needs:
- line 2: change
upstreamfromapp:httptofrontend:httpas our application will be displayed through thefrontendapp - line 9: change name of the app from
myapptofrontend - line 11:
source.rootneeds to point to the/frontendfolder - line 13: adjusting
container_profileparameter to get more RAM than the default Node.js profile
For the sack of this tutorial, please add the frontend Next.js configuration block AFTER the existing app block.
We will later add, in the Add a relationship section, a relationship from frontend to app,
and when the Upsun internal process enables this relationship, app needs to already exist.
First deploy
We will first check that our new frontend application deployment is responding well.
To do so, we will need to add the Next.js source code and updates in the .upsun/config.yaml file:
git add frontend .upsun/config.yaml
git commit -m "Add next.js app"
symfony deploy
As soon as the first deployment is finished, check your new application using:
symfony upsun:environment:url --primaryYou should end up on this page:
Decouple your application
Then, we will display the list of blogposts, fetched from Symfony routes, with links to each blogpost page.
Add a relationship from frontend to app
As we don’t want to expose our Symfony app API over HTTP, we will define a relationship from frontend to app.
To define this relationship between applications, update your .upsun/config.yaml with the following:
| |
This will expose the app data in the frontend container, via an internal api.internal route (no more HTTP).
frontend application section,
when the Upsun internal process will create this relationship, app needs to already exist, and so, needs to be defined before the frontend application.Update Next.js source code
We will now update our Next.js application to add 2 new components (Posts and Post), and do some design update to display the list of posts on the homepage and a single page for each post.
Create a Posts component
First, we need to create a new Posts component that will fetch data from the Symfony <lang>/api/get-all-posts route and pass it to our homepage.
To do so, create a new frontend/app/components/posts.js file with the following source code:
import Link from "next/link";
const localhost="http://localhost:8000";
const locale = typeof navigator !== "undefined" ? navigator.language.split("-")[0] : "en";

export default async function Posts() {
    const backendUrl = ('API_HOST' in process.env) ? process.env.API_SCHEME + "://" + process.env.API_HOST : localhost;
    const res = await fetch(`${backendUrl}/${locale}/api/get-all-posts/`, {cache: "no-store"});

    if (!res.ok) {
        throw new Error(`Error while fetching posts: ${res.status}`);
    }

    const posts = await res.json();

    return (
        <div className="row">
            <div className="col-12">
                <div className={'post-title'}><h2>Posts</h2></div>
                <div className="divTable table table-striped table-dark table-borderless table-hover">
                    <div className="divTableHeading">
                        <div className="divTableRow bg-info">
                            <div className="divTableHead">Title</div>
                            <div className="divTableHead">Summary</div>
                            <div className="divTableHead">Published At</div>
                        </div>
                    </div>
                    {posts.map((post, index) => (
                        <div className="divTableRow" key={index}>
                            <Link href={`/post/${locale}/${post.id}`} className="divTableCell">{post.title}</Link>
                            <Link href={`/post/${locale}/${post.id}`} className="divTableCell">{post.summary}</Link>
                            <Link href={`/post/${locale}/${post.id}`} className="divTableCell">{post.publishedAt.date}</Link>
                        </div>
                    ))}
                </div>
            </div>
        </div>
    );
}
Update hompepage
Now, we want to display this Posts component on our homepage.
We will update the fontend/app/page.js file with the following source code:
| |
Add styles
Please create a new frontend/app/page.css file with the following CSS:
@import "~bootstrap/dist/css/bootstrap.css";
html, body {max-width: 100vw;overflow-x: hidden;}
body {background-color: rgb(21, 32, 43);color: #fff;font-family: Arial, Helvetica, sans-serif;}
* {box-sizing: border-box;padding: 0;margin: 0;}
a {color: inherit;text-decoration: none;}
.table-dark.table-striped .divTableRow:nth-of-type(odd) {background-color: rgba(255, 255, 255, 0.05);}
.table-dark.table-hover .divTableRow:hover {background-color: rgba(255, 255, 255, 0.075);}
.postLink {cursor: pointer;}
.table-dark.table-hover .sightingLink.divTableRow:hover .divTableCell {text-decoration: underline;}
.post {display: grid;grid-auto-flow: column dense;gap: 2rem;margin-top: 2rem;place-content: flex-end center;place-items: flex-end center;height: 100%;font-family: sans-serif;text-align: center;}
.post {width: 100%;place-content: center;display: flex;}
.post span {font-size: 2rem;}
/* DivTable.com */
.divTable{display: table;width: 100%;}
.divTableRow {display: table-row;padding: 0.75rem;}
.divTableCell, .divTableHead {display: table-cell;padding: 3px 10px;}
.divTableHeading {display: table-header-group;font-weight: bold;}
.divTableFoot {background-color: #EEE;display: table-footer-group;font-weight: bold;}
.divTableBody {display: table-row-group;}
This will give some love to the homepage styling.
At this stage, your IDE should complain about the @import "~bootstrap/dist/css/bootstrap.css"; import line at the beginning.
This is due to the missing bootstrap Node module in your frontend application.
To install bootstrap module, execute the following command line from the frontend folder:
cd frontend
npm install bootstrap
cd ..
Create a Post component
As we want to display each blogpost in a dedicated page, we need to create a new Post component that will fetch data from the Symfony <lang>/api/get-post/{id} route and pass it to the Post page.
To do so, create a new frontend/app/components/post.js file with the following source code:
const localhost="http://localhost:8000";

export default async function Post({ lang, id }) {
    const backendUrl = ('API_HOST' in process.env) ? process.env.API_SCHEME + "://" + process.env.API_HOST : localhost;;
    const res = await fetch(`${backendUrl}/${lang}/api/get-post/${id}`, {cache: "no-store"});

    if (!res.ok) {
        throw new Error(`Error while fetching posts: ${res.status}`);
    }

    let post = await res.json();

    return (
        <div className="row">
            <div className="col-12">
                <h1>{post[0].title}</h1>
                <p>{post[0].content}</p>
            </div>
        </div>
    );
}
Create a Post page
For Next.js to handle dynamic routes, we will create a single page.js file for all posts, handling the lang and id of the post.
To do so, we need a frontend/app/post/[lang]/[id]/page.js (keep the brackets for [lang] and [id]) file with the following source code:
import '@/app/page.css';
import Post from "@/app/components/post";

export default async function PostPage({ params }) {
    const { lang, id } = await params
    return (
        <div className={'container'}>
            <nav className="navbar navbar-expand navbar-dark bg-dark ">
                <a className={"navbar-brand"} href="/">
                    <img src="https://docs.upsun.com/images/logo.svg" width="150"
                         className="d-inline-block align-top" alt="podium"/>
                </a>
            </nav>
            <Post id={id} lang={lang} />
        </div>
    );
}
This will get the dynamic parameters lang and id from the url (ex: /post/en/2), pass it to our Post component and fetch corresponding post through Symfony route <lang>/api/get-post/{id}
Test it
Let’s test our final application locally.
Start your Symfony application
For more convenience, we will start the Symfony application server locally by executing following command lines:
cd backend
symfony composer install
symfony server:start -d
cd ..
Start your Next.js application
cd frontend
npm run dev
Then open http://localhost:3000 in your browser,
and you should see the following result: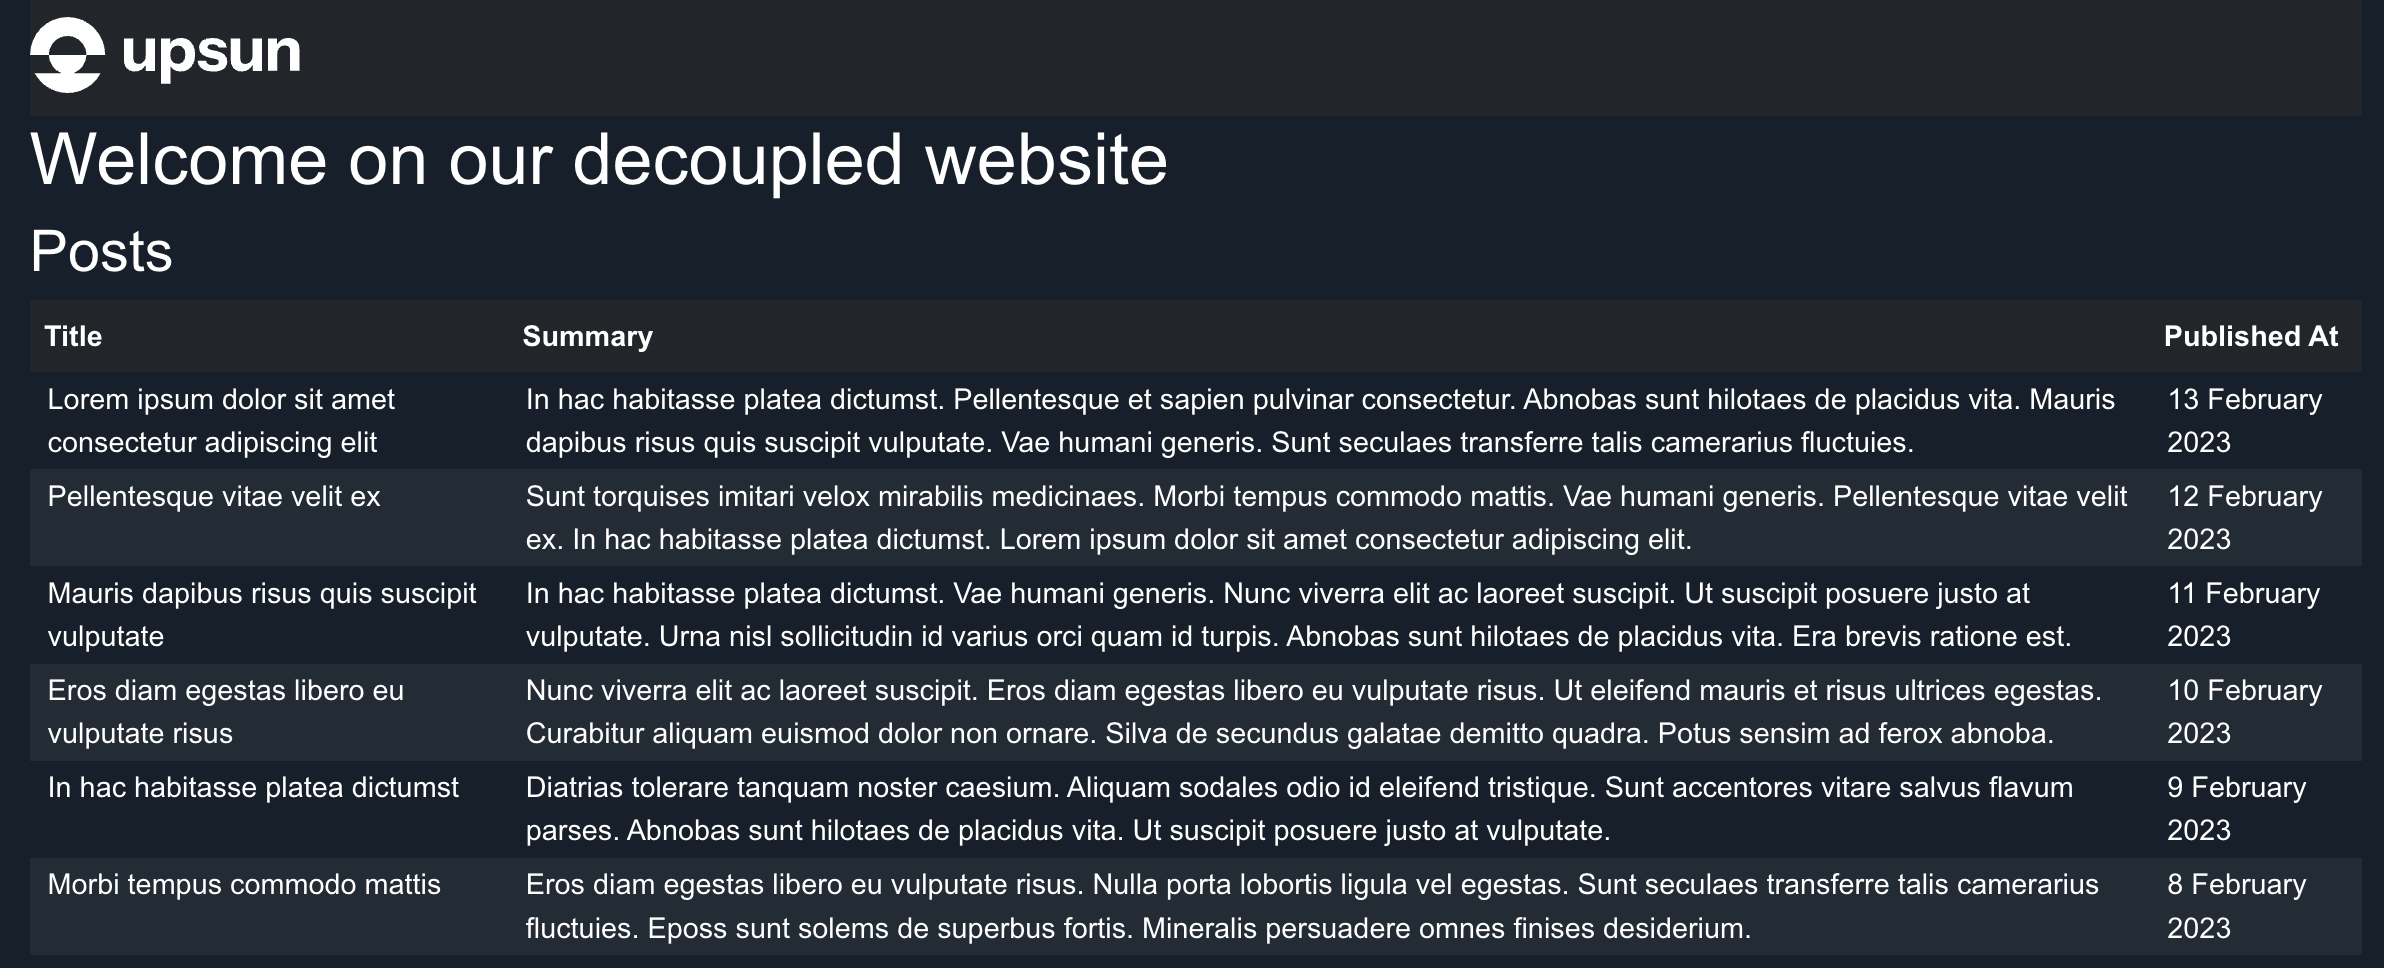
Turn on Next.js production mode
As our homepage is displaying the list of blogposts, and we can navigate to read a blogpost, we can now switch Next.js to production mode.
Update your .upsun/config.yaml and add the following environment variable configuration:
| |
Deploy
Let’s deploy our last updates by using the following:
git add frontend .upsun/config.yaml && git commit -m "Update homepage + add post page + production mode"
symfony deploy
symfony upsun:environment:url --primary
You should also see the following result from your preview environment:
Et voilà, we are done! Our application is now using Next.js to display Symfony blogposts.
Deploy to production
After checking that thedecouple-frontend interface is looking great and meets your needs, you can merge decouple-frontend branch to themain branch, using the following command lines from the root of your project:
symfony merge
symfony checkout main
git pull upsun main
symfony upsun:environment:delete decouple-frontend
git fetch --prune
This will merge the decouple-frontend source code into the main branch and deploy it to production, and then delete decouple-frontend environment and corresponding Git branch.
Et voilà, your application has been decoupled in less than few minutes.
Conclusion
By decoupling the frontend from the backend, you embrace a modern and modular architectural approach that offers greater flexibility in both development and deployment. This separation allows each team to focus on their area of expertise while ensuring seamless integration through robust APIs.
In this tutorial, we explored how to set up a solution that leverages technologies like Symfony for the backend and Next.js for the frontend, all orchestrated on a platform like Upsun. This approach provides optimized performance, improved scalability, and a faster development cycle.
Beyond the technical aspects, this methodology enhances the ability to adapt to market changes and user demands. By separating responsibilities, you gain agility, security, and better maintainability for your applications.
Adopting a decoupled architecture is an investment in a strategy that promotes continuous innovation and the creation of high-quality user experiences.
We would love your feedback!
Try it today and experience the difference!
👉 Explore the Docs👉 Need Help? Contact Support👉 Join the Discussion: 👉 DEV.to 👉 Reddit 👉 Discord
We’d love to hear how this tutorial improves your experience of our product!
Final source code result
If you check the final source code of this tutorial, please refer to this GitHub repository examples/demo-decouple-frontend folder.