Deploy your first Rails 8 application on Upsun
Rails 8.0 Release Candidate just dropped, and it’s packed with exciting features focused on deployment simplicity. While Rails 8 introduces tools like Kamal for “PaaS-free” deployment, there’s still immense value in using a modern cloud platform like Upsun - especially when you want to focus on building features rather than managing infrastructure.
Let’s build a simple blog application and deploy it to production in under 10 minutes!

Prerequisites
- Basic Ruby knowledge
- macOS (though Windows/Linux instructions available)
- Upsun CLI installed
- Ruby 3.3+ installed
Part 1: Local Development
Setting Up Your Environment
First, let’s install Ruby and Rails on your Mac:
# Install Ruby 3.3 via brew
brew install ruby

# Install Rails 8 RC
gem install rails -v8.0.0.rc1

# Ensure bundler is up to date especially if you just upgraded Ruby
gem uninstall bundler --all --force && gem install bundler
If you want to use PostgreSQL locally via the pg gem, you need to install postgresql@15 on your machine to compile the extension:
brew install postgresql@15
gem install pg
If you only want to use sqlite locally and pg on your production install, you will need to add bundle config set frozen false to the Upsun build phase so that bundle can still install the gem on Upsun.
Bootstraping your Rails 8 blog
Let’s create a new Rails application:
rails new rails-blog
cd rails-blogBuilding the Blog Features
We’ll follow the standard Rails blog tutorial but with some modern twists. Here are the key models we’ll create:
# Generate the Article model
bin/rails generate model Article title:string body:text
bin/rails generate model Comment commenter:string body:text article:references

# Run migrations
bin/rails db:migrate
Add the following to app/models/article.rb to map the relationship between Articles and Comments:
class Article < ApplicationRecord
  has_many :comments, dependent: :destroy

  validates :title, presence: true
  validates :body, presence: true, length: { minimum: 10 }
end
Head over to routes.rb and define the following:
root "articles#index"
resources :articles do
  resources :comments
end
We are using a resources here to make thing simple but we could also specify only the index and show routes.
And add the reverse one:
class Comment < ApplicationRecord
  belongs_to :article
end
To the controllers
Let’s create the two controllers we need there to handle our Articles and Comments.
The articles_controller.rb just specifies two actions, index and show:
class ArticlesController < ApplicationController
  def index
    @articles = Article.all
  end

  def show
    @article = Article.find(params[:id])
  end
end
The comments_controller.rb only handles the Comment creation process as the display is handled by the ArticlesController directly:
class CommentsController < ApplicationController
  def create
    @article = Article.find(params[:article_id])
    @comment = @article.comments.create(comment_params)
    redirect_to article_path(@article)
  end

  private
    def comment_params
      params.require(:comment).permit(:commenter, :body)
    end
end
Let’s create the Views
With the magic of Claude.ai, we can generate some boilerplate TailwindCSS templates for our pages. If you are curious, here is the prompt that was used. Don’t forget to upload your .erb template in the UI first.
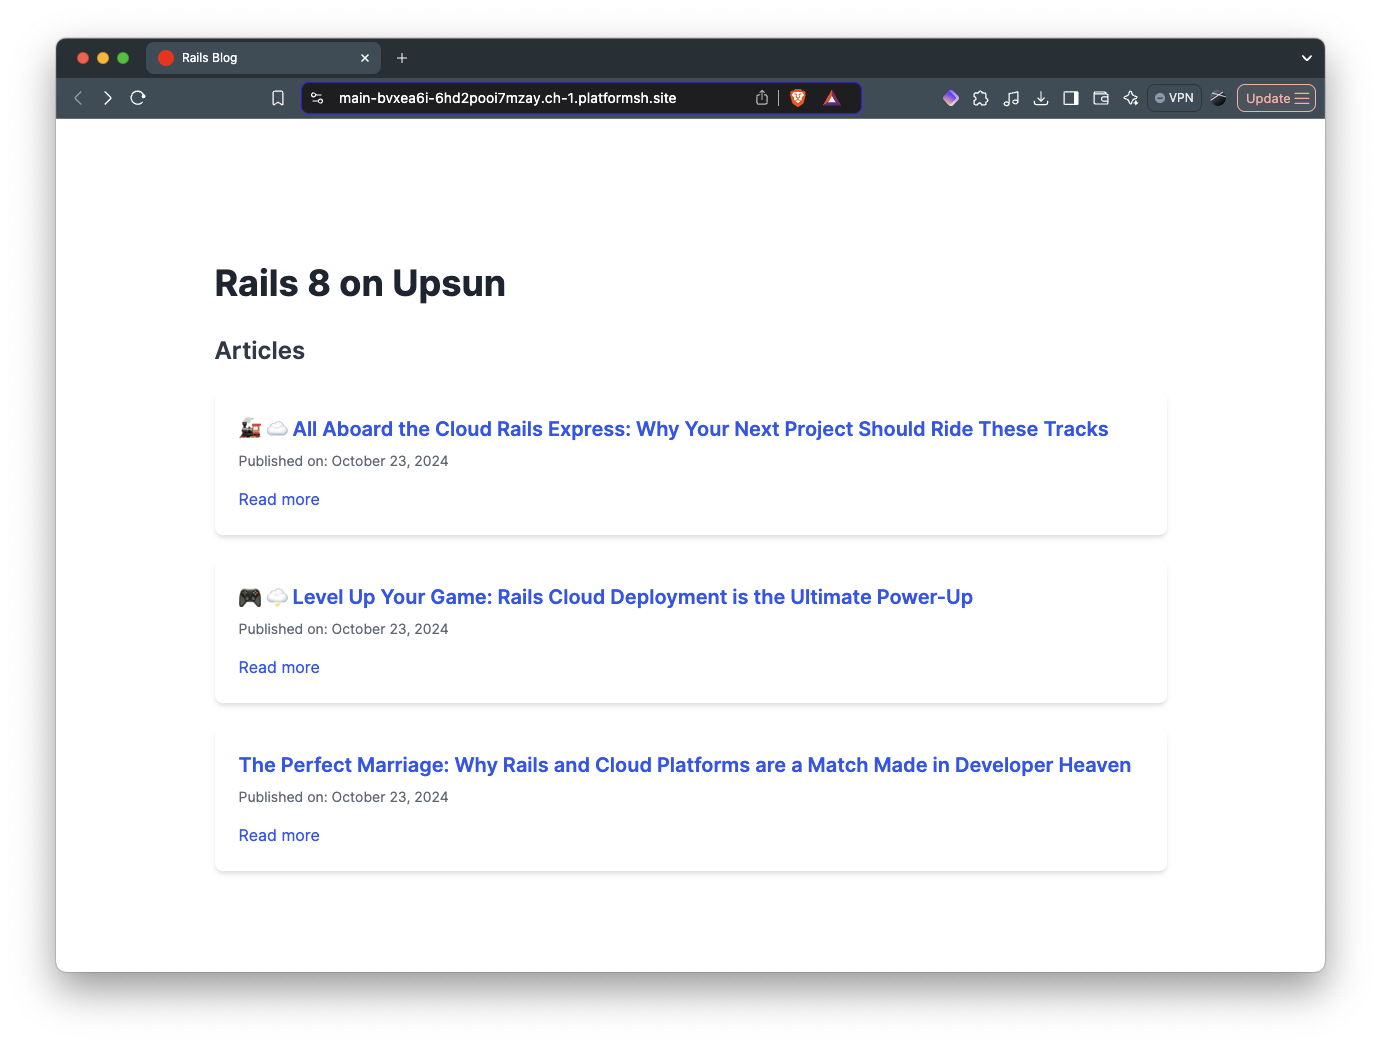
Let’s start with our index page app/views/articles/index.html.erb:
<div class="container mx-auto px-4 py-8">
  <h1 class="text-4xl font-bold text-gray-800 mb-8">Rails 8 on Upsun</h1>

  <h2 class="text-2xl font-semibold text-gray-700 mb-6">Articles</h2>

  <div class="space-y-6">
    <% @articles.each do |article| %>
      <div class="bg-white shadow-md rounded-lg p-6 hover:shadow-lg transition duration-300">
        <h3 class="text-xl font-semibold text-blue-600 hover:text-blue-800">
          <%= link_to article.title, article_path(article), class: "hover:underline" %>
        </h3>
        <% if article.created_at %>
          <p class="text-sm text-gray-500 mt-2">
            Published on: <%= article.created_at.strftime("%B %d, %Y") %>
          </p>
        <% end %>
        <%= link_to "Read more", article_path(article), class: "inline-block mt-4 text-blue-600 hover:text-blue-800 hover:underline" %>
      </div>
    <% end %>
  </div>

  <% if @articles.empty? %>
    <p class="text-lg text-gray-600 mt-8">No articles found.</p>
  <% end %>
</div>
And now the single article template app/views/articles/show.html.erb:
<div class="container mx-auto px-4 py-8">
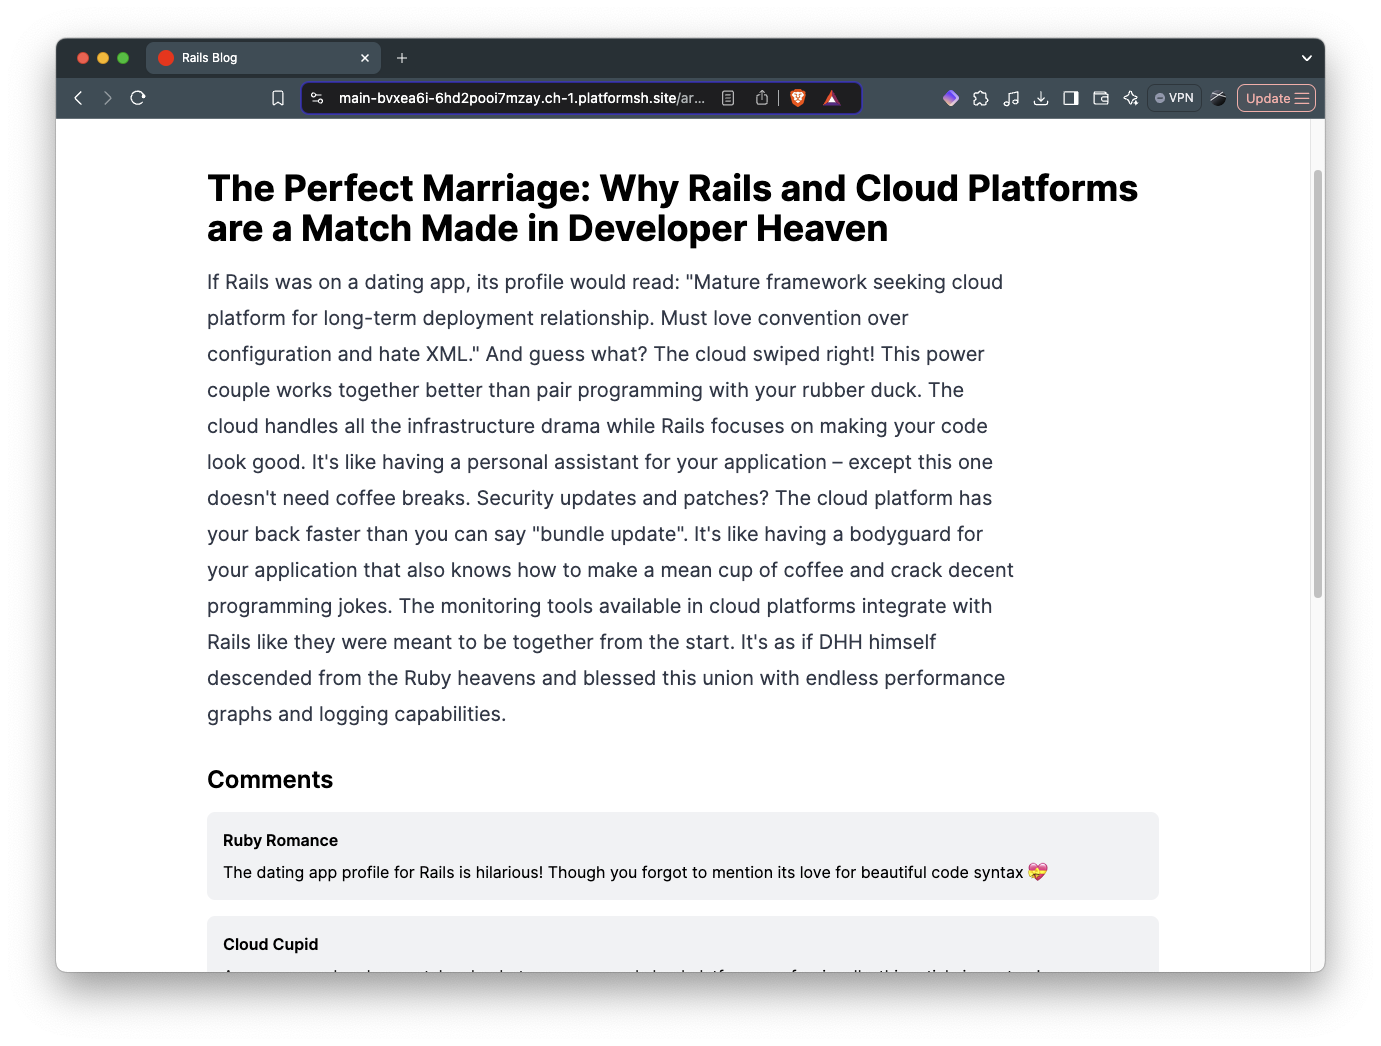
  <h1 class="text-4xl font-bold mb-4"><%= @article.title %></h1>

  <div class="prose lg:prose-xl mb-8">
    <%= @article.body %>
  </div>

  <h2 class="text-2xl font-semibold mb-4">Comments</h2>
  <div class="space-y-4 mb-8">
    <% @article.comments.each do |comment| %>
      <div class="bg-gray-100 p-4 rounded-lg">
        <p class="font-semibold"><%= comment.commenter %></p>
        <p class="mt-2"><%= comment.body %></p>
      </div>
    <% end %>
  </div>

  <h2 class="text-2xl font-semibold mb-4">Add a comment:</h2>
  <%= form_with model: [ @article, @article.comments.build ], class: "space-y-4" do |form| %>
    <div>
      <%= form.label :commenter, class: "block text-sm font-medium text-gray-700" %>
      <%= form.text_field :commenter, class: "mt-1 block w-full rounded-md border-gray-300 shadow-sm focus:border-indigo-300 focus:ring focus:ring-indigo-200 focus:ring-opacity-50" %>
    </div>
    <div>
      <%= form.label :body, class: "block text-sm font-medium text-gray-700" %>
      <%= form.text_area :body, rows: 4, class: "mt-1 block w-full rounded-md border-gray-300 shadow-sm focus:border-indigo-300 focus:ring focus:ring-indigo-200 focus:ring-opacity-50" %>
    </div>
    <div>
      <%= form.submit class: "inline-flex items-center px-4 py-2 border border-transparent text-sm font-medium rounded-md shadow-sm text-white bg-indigo-600 hover:bg-indigo-700 focus:outline-none focus:ring-2 focus:ring-offset-2 focus:ring-indigo-500" %>
    </div>
  <% end %>
</div>
Add the TailwindCSS gem
If you refresh your project, you will notice that the styles are not yet applied. We need to add TailwindCSS to our project:
bundle add tailwindcss-rails
bin/rails tailwindcss:install
The install command will generate the tailwind.config.js file. No need to change anything there.
You can now either build once or watch automatically for any change:
bin/rails tailwindcss:build
# OR
bin/rails tailwindcss:watch
Refresh and your styles should now be properly generated and injected into application.html.erb:
<%# Includes all stylesheet files in app/assets/stylesheets %>
<%= stylesheet_link_tag "tailwind", "inter-font", "data-turbo-track": "reload" %>
<%= stylesheet_link_tag :app, "data-turbo-track": "reload" %>
Great! Our app is now complete!
Part 2: Preparing for Upsun deployment
Creating Your Upsun Project
# Create a new project
upsun project:create rails-blog

# Follow the prompts!
[...]
Our Upsun git remote is now setup on the repository:
git remote -v
origin	git@github.com:gmoigneu/upsun-rails-8-tutorial.git (fetch)
origin	git@github.com:gmoigneu/upsun-rails-8-tutorial.git (push)
upsun	6hd2pooi7mzay@git.ch-1.platform.sh:6hd2pooi7mzay.git (fetch)
upsun	6hd2pooi7mzay@git.ch-1.platform.sh:6hd2pooi7mzay.git (push)
Configuring for Deployment
The magic happens in .upsun/config.yaml.
Let’s break down each section of a production-ready Rails configuration:
1. Application Definition
applications:
  rails-blog:
    type: "ruby:3.3"
This defines your application’s runtime environment:
rails-blogis your application nametype: "ruby:3.3"specifies the base image we want to use and the Ruby version
2. Database Relationship
    relationships:
      database: "postgresql:15"
This creates a connection between your application and services:
- Links your app to a PostgreSQL 15 database
- Makes the database credentials available via environment variables
DATABASE_. - Creates a secure internal network between your app and database
3. Web Server Configuration
    web:
      commands:
        start: "bundle exec puma -b unix://$SOCKET"
      upstream:
        socket_family: unix
      locations:
        "/":
          root: "public"
          passthru: true
          expires: 1h
This configures how your application handles web requests:
startcommand launches Puma using a Unix socketsocket_family: unixoptimizes for performance by using Unix sockets instead of TCPlocationsconfigures the web server:root: "public"serves static files from the public directorypassthru: trueforwards requests to Rails when no static file is foundexpires: 1hsets cache headers for better performance
4. Build and Deploy Hooks
    hooks:
      build: |
        set -e
        bundle config set frozen false
        bundle install
        bundle exec rails assets:precompile
      deploy: |
        set -e
        bundle exec rails db:migrate
These hooks run at specific points in the deployment process:
buildruns during the build phase when you are not connected to any other services:- Installs Ruby dependencies
- Compiles assets
deployruns when deploying the new container on the host:- Runs database migrations
- You could other actions like cache clearing and the likes
5. Persistent Storage
    mounts:
      "/log":
        source: storage
        source_path: log
      "/storage":
        source: storage
        source_path: storage
      "/tmp":
        source: storage
        source_path: tmp
Configures persistent storage for your application:
/logfor application logs/storagefor uploaded files and Active Storage/tmpfor temporary files- Each mount persists data across deployments and can be shared between containers
6. Environment Variables
    variables:
      env:
        PIDFILE: "tmp/server.pid"
        RAILS_ENV: "production"
Sets environment variables for your application:
PIDFILEspecifies where Puma should store its process IDRAILS_ENVensures Rails runs in production mode
7. Services Definition
services:
  database:
    type: postgresql:15
Defines the services your application needs:
- Creates a PostgreSQL 15 database instance
- Automatically manages backups and updates
- Provides high-availability configuration
8. Routing Configuration
routes:
  "https://{default}/":
    type: upstream
    upstream: "rails-blog:http"
  "https://www.{default}":
    type: redirect
    to: "https://{default}/"
Configures how requests reach your application:
- Sets up HTTPS automatically
- Routes requests to your Rails application
- Redirects www to non-www (or vice versa)
{default}is replaced with your environment URL
The last step is to make sure we properly generate the DATABASE_URL environment variable. Upsun automatically detects any .environment file at the root of the repository.
# Set database environment variables
export DATABASE_URL="postgres://${DATABASE_USERNAME}:${DATABASE_PASSWORD}@${DATABASE_HOST}:${DATABASE_PORT}/${DATABASE_PATH}"
And that’s all you need!
Database Configuration
Update config/database.yml:
production:
  url: <%= ENV['DATABASE_URL'] %>
Asset Serving
Rails 8 uses Propshaft for asset compilation, which works seamlessly with Upsun’s static file serving:
config.public_file_server.enabled = true
config.public_file_server.headers = {
  'Cache-Control' => 'public, max-age=31536000'
}
Deploying Your Application
# Commit your changes
git add .
git commit -m "Ready for deployment"

# Deploy to Upsun
upsun push
Once the build and deploy processes are complete, your new environment will be ready to serve traffic.
upsun ssh to connect to the container and upsun sql to connect to your database.If you have setup some seeds in seeds.rb, ssh to the container and run:
upsun ssh
rake db:seed
Monitoring and Scaling
Upsun provides built-in monitoring and scaling capabilities:
# View application logs
upsun logs

# Scale your application
upsun scale web:2
Complete Source Code
Find the complete source code for this tutorial on GitHub: upsun-rails-8-tutorial
Conclusion
While Rails 8 makes self-hosting easier, using a Platform-as-a-Service like Upsun lets you focus on what matters most - building great applications. The time saved on infrastructure management, security updates, and scaling concerns easily justifies the platform cost for most teams.
Happy Ruby coding! 🚀
