Using PostgreSQL MCP with Upsun Remote Database
Introduction to Model Context Protocol (MCP)
Model Context Protocol (MCP) is an open standard that creates a bridge between large language models (LLMs) and external tools, data sources, or services. It standardizes how AI assistants can access and interact with information outside their training data, allowing them to perform actions in the real world through a consistent interface.
MCP servers act as specialized connectors that expose specific capabilities to AI assistants. These servers follow the MCP specification to provide tools and resources that LLMs can use to:
- Access data sources (like databases, APIs, or file systems)
- Execute functions (like running queries or performing calculations)
- Interact with external systems (like applications or services)
Why Connect Databases to LLMs via MCP?
Connecting a PostgreSQL database to an LLM through MCP offers several compelling advantages:
Natural language access to data: Non-technical team members can query complex databases using plain English instead of SQL.
Controlled, secure access: MCP servers can enforce read-only access, preventing accidental data corruption or unauthorized changes.
Deeper context for AI conversations: The AI can reference your actual data when answering questions, making responses more accurate and relevant to your specific situation.
Simplified data exploration: Quickly explore database structures and content without writing SQL queries for every investigation.
Enhanced productivity: Developers can focus on higher-level problems while the AI handles routine data retrieval and analysis tasks.
Cross-platform compatibility: The same MCP server works with multiple AI assistants (Claude, GitHub Copilot, etc.) that support the protocol.
This guide demonstrates how to connect a PostgreSQL Model Context Protocol (MCP) server to an Upsun remote database, enabling AI assistants like Claude or GitHub Copilot to interact with your database data through natural language.
1. Adding a PostgreSQL Database to Upsun
If you don’t have one already, add a PostgreSQL database service on your Upsun project:
- Edit your
.upsun/config.yamlfile to add a PostgreSQL service:
services:
  # The name of the service container - can be any name you choose
  postgresql:
type: postgresql:17 # Use your preferred PostgreSQL version- Create a relationship to this service in your application configuration:
applications:
  myapp:
    # Other configuration...
    relationships:
database: "postgresql:postgresql"- Push your changes to deploy the PostgreSQL service:
git add .upsun/config.yaml
git commit -m "Add PostgreSQL service"
upsun push
In order for the MCP to retrieve information, it is up to you to populate that database with some tables and records!
2. Opening a Tunnel to Your Remote Database
Use the Upsun CLI to open a secure tunnel to your Upsun PostgreSQL database:
upsun tunnel:openThis command will create SSH tunnels to all your project’s services, including PostgreSQL. The output will show connection details similar to:
SSH tunnel opened to postgresql at: pgsql://main:main@127.0.0.1:30000/mainNote the connection string details - you’ll need these for the MCP configuration.
Alternatively, you can obtain PostgreSQL connection details from your environment variables:
upsun ssh env | grep DATABASELook for variables like DATABASE_HOST, DATABASE_PORT, DATABASE_USERNAME, and DATABASE_PASSWORD.
DATABASE_) depends on how you named the relationship to the application in config.yaml3. Installing the PostgreSQL MCP Server
The PostgreSQL MCP server provides a standardized way for AI tools to interact with your database.
- Make sure you have Node.js installed on your system.
- You don’t need to install anything manually - we’ll use
npxto run the server directly.
4. Configuring the MCP Server in Your Editor
For VSCode
- Install the GitHub Copilot extension if you haven’t already.
- Create a
.vscode/mcp.jsonfile in your project with the following configuration:
{
  "inputs": [],
  "servers": {
    "postgres": {
      "command": "npx",
      "args": [
        "-y",
        "@modelcontextprotocol/server-postgres",
        "postgresql://main:main@127.0.0.1:30000/main"
      ]
    }
  }
}
Replace the connection string with your actual tunnel connection details from step 2.
For Cursor
- Open Cursor and go to Settings > Features > MCP.
- Click on “+ Add New MCP Server”
- Fill out the form:
- Name: “postgres”
- Type: “stdio”
- Command: “npx”
- Arguments:
-y @modelcontextprotocol/server-postgres postgresql://main:main@127.0.0.1:30000/main
You can also edit the mcp.json settings file as below:
{
  "mcpServers": {
    "postgres": {
      "command": "npx",
      "args": [
        "-y",
        "@modelcontextprotocol/server-postgres",
        "postgresql://main:main@127.0.0.1:30002/main"
      ]
    }
  }
}
Replace the connection string with your actual tunnel connection details from step 2.
5. Testing the Setup
- Make sure your Upsun tunnel is open and running. You can check the tunnel status and credentials with the following command:
upsun tunnel:info -A api
postgresql:
    -
        [...]
        service: postgresql
        rel: postgresql
        scheme: pgsql
        username: main
        password: main
        port: 30000
        path: main
        [...]
        type: 'postgresql:17'
url: 'pgsql://main:main@127.0.0.1:30000/main'- Activate the AI assistant in your editor:
- In VSCode: Open the Copilot Chat panel and switch to “Agent mode”
- In Cursor: Open Composer and ensure the MCP server is active
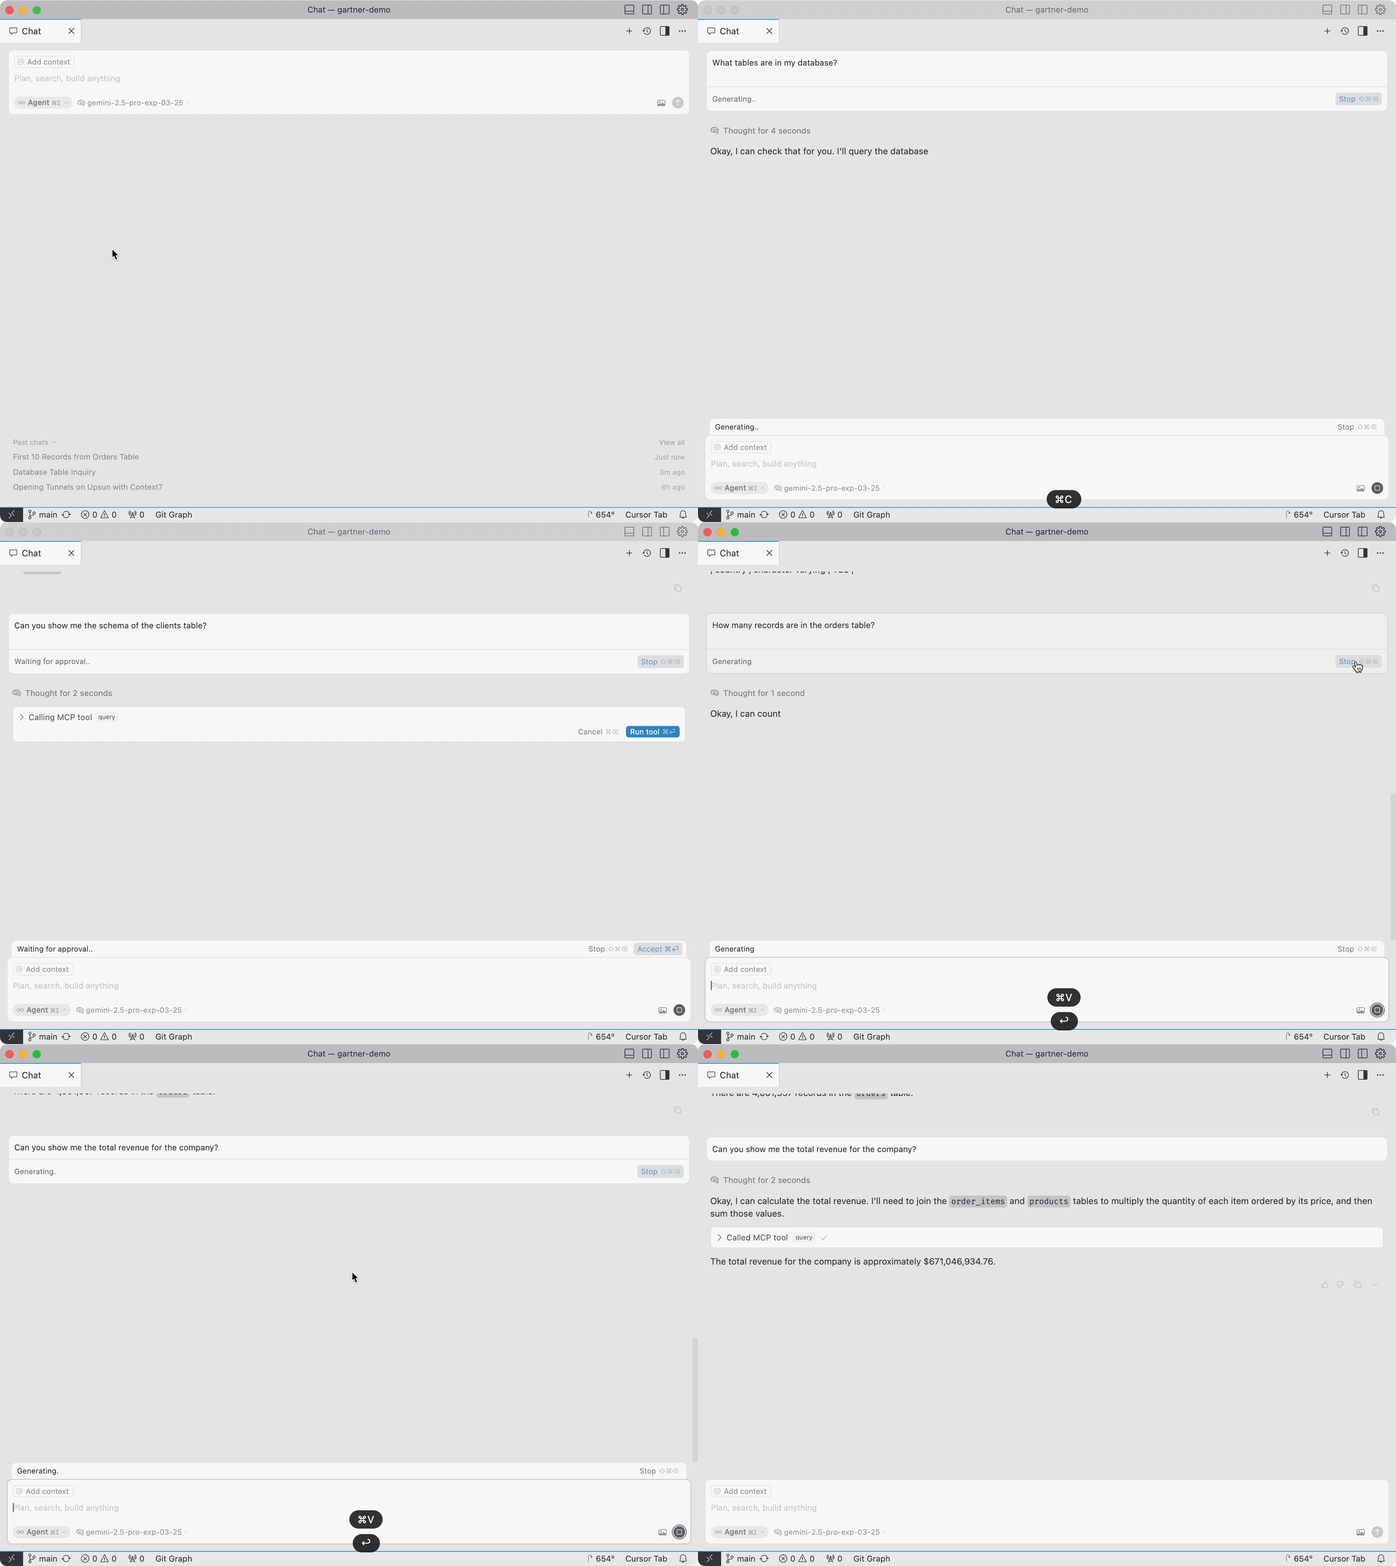
- Try asking questions about your database:
- “What tables are in my database?”
- “Can you show me the schema of the users table?”
- “How many records are in the orders table?”

Troubleshooting
- Connection issues: Ensure your Upsun tunnel is open and the connection string is correct
- Permission errors: Check that your database credentials are matching
- MCP server not responding: Verify the MCP server configuration and ensure the required packages are installed
Security Considerations
- The PostgreSQL MCP server provides read-only access to your database
- Always use tunnels for secure connections to remote databases
- For sensitive data, work with non-production environments by creating development branches in Upsun
Using Non-Production Databases
One of Upsun’s key advantages is the ability to create isolated environments with cloned databases:
Create a development branch from your production environment:
git checkout -b test-db
git push -u origin test-db
Upsun automatically creates a new environment with a complete copy of your production database
You can then safely connect your MCP server to this development environment:
upsun tunnel:open -e test-db
This approach allows you to work with real data structures while minimizing any risk to your production environment. Each environment in Upsun has its own isolated database, making it ideal for development and testing with AI tools.
